
These bookcases, along with the quality time spent together building them, was my "big" Christmas present this year! I have been itching for some new bookcases for a long time now. We debated on just buying new bookcases, but none of them we looked at were full wood or worth the price tag that adorned them.
So, my wonderful, wood-working hubby suggested we build some custom made for our study over Christmas break. I was THRILLED! It was a project for the whole family to join in on. Just FYI this is a LONG blog post.....just sayin'.
 Little Bit ready to help!
 We started by cutting 4' x 8' pieces of cabinet grade plywood into strips.
 They are 7 feet tall!
 Then we cut the 15" deep tops and bottoms.
 P nailed them together for the frame.
 Then we cut the bead-board backing for each one.
 We nailed the bead-board onto the back of each frame.


P standing back to admire the work done so far with his cup of coffee.

Shelby had to come down to the shop to monitor and make sure things were done properly. She directed everything from her bed (which is right in front of the fireplace!)

Now its starting to look like a bookcase!

The girls would steal our ear muffs every time we put them down. It was hard to get mad at them seeing as how they look so darn cute in them!
Next came the doors for the cabinets on the bottom of the cases. These were the most challenging pieces to make because they have to fit just right in order to work! I had no doubt P could pull it off. He really should be a carpenter.....maybe one day.

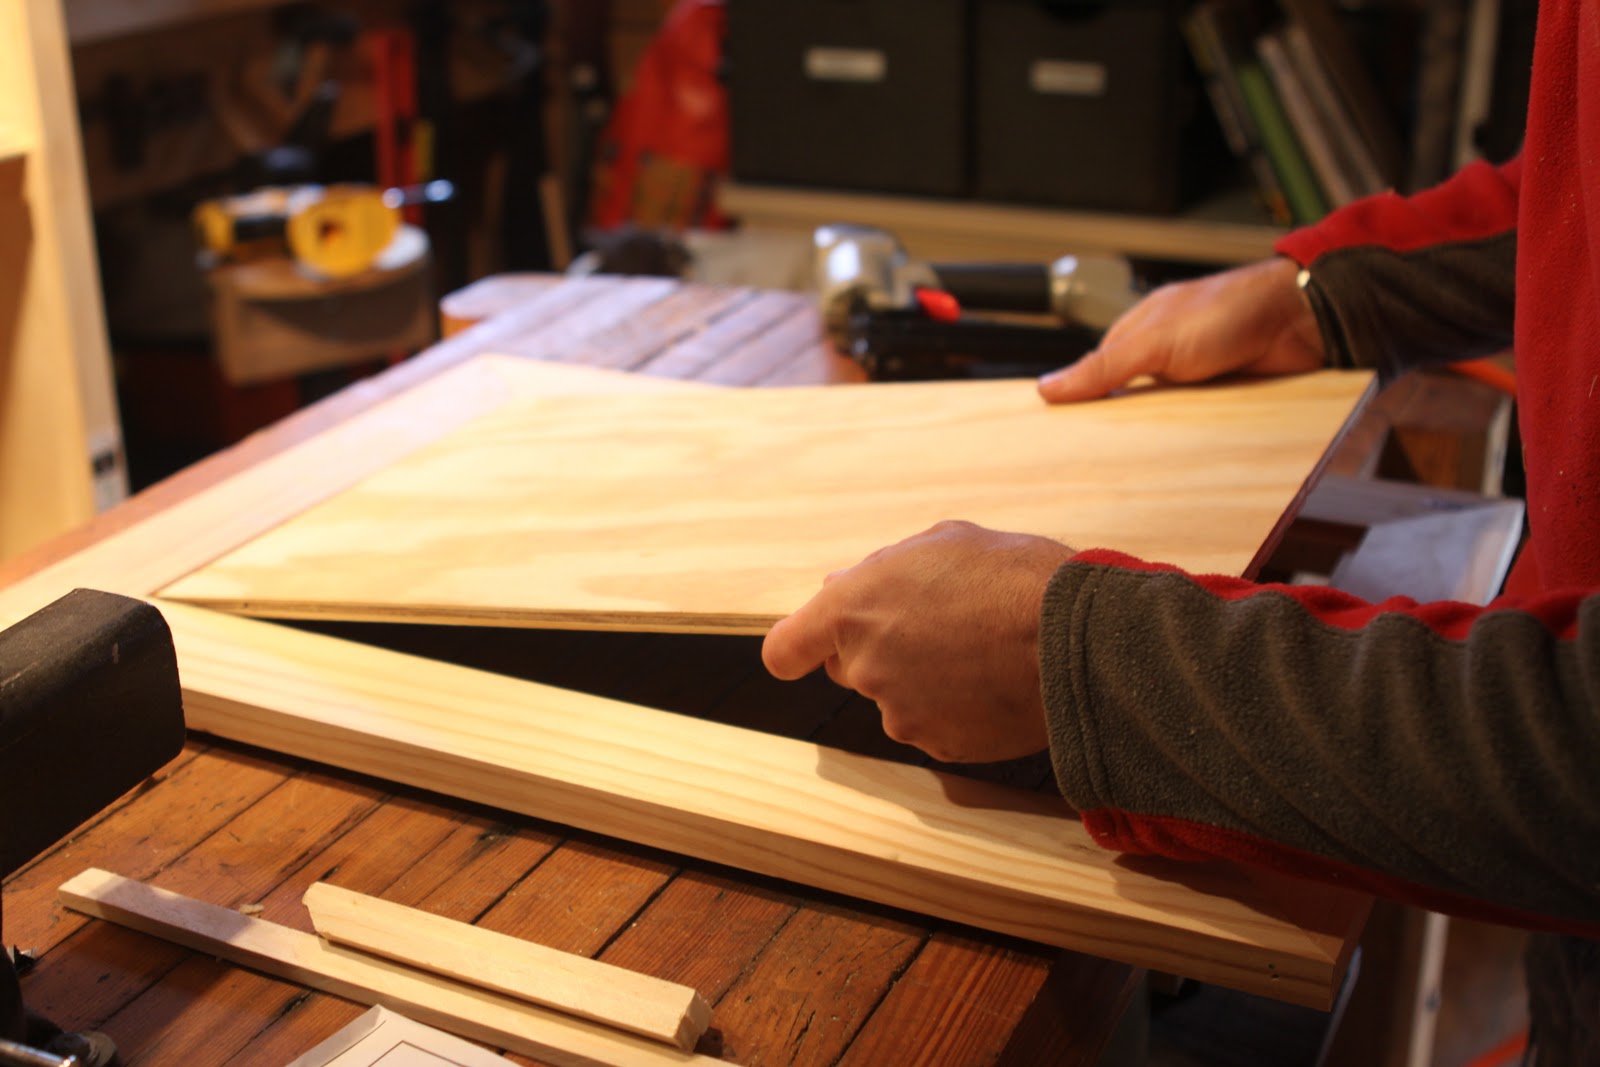
In order to get the cabinet doors perfectly squared, P used this cool old contraption called a framing vise he salvaged from his great grandfather's shop.


It lines the two pieces cut at 45* angles up and holds them there while you nail them together.

Now that the frames were nailed together, we had to figure out how to insert the bead-board into the center. P being the creative master he is, added a decorative piece that also added thickness to nail the bead-board to.


The frame is ready.

Next, insert the bead-board and nail it in.

Voila' - a door is made!


P used his new cool screw driver to attach the doors to the bookcases.
Last but not least came the oh-so-fun painting.


P brushed one while I rolled another....

And then we swapped for a final bookcase that looked like this!

Oh yeah, and we had to take small special brushes to paint around the hinges. (Oh and a little proof to show I helped! ;)
This picture doesn't quite to them justice, but I will add another picture late as it is now full of books!!
I <3 my new bookcases!!


6 comments:
They look great! We bought some bookcases over the summer and they are already starting to bend a little in the middle. I'm not a happy camper! I think the hubby is going to work on building us some soon. Love the color too!
Robert Thomas said:
Looks great,.. you guys did a wonderful job!
Byron Whittington said:
Love the blog and the bookcases.
Katie Amberson said:
They look great!
Gus said:
Thanks for the blog pictures. We always enjoy seeing them. Elouise & Gus
Byron said:
You have NO idea how much I love getting this blog. You do such a wonderful job keeping it updated with all that is going on in the Hays family. I read every word. I gotta say, I had tears in my eyes looking at those beautiful girls hugging their daddy when he arrived home. I cant imagine the emotion of that moment. So glad you got to have him all alone for the weekend when he first returned.
Love you guys. Hope you all are doing well.
Byron Whittington
Post a Comment